What aerial photos reveal at each building phase
Every building project moves through a series of stages, from ground preparation to final finishes. At each stage, aerial photography can capture details that are hard to see from ground level. Understanding what to document and when helps project managers, clients, and site teams get the most from a visual record. This article explains the key moments in a construction timeline and what a construction progress drone capture can show at each one.
Pre-construction site condition
Before any earth is moved, a baseline set of aerial images records the existing site. This includes vegetation, drainage patterns, existing structures, and boundary lines. Having this record is useful for planning access routes, locating utility easements, and verifying the pre-existing state in case of later disputes. A single flight at this stage can also produce a digital elevation model that contractors use to calculate cut and fill volumes later.
Site preparation and foundation work
Once clearing and grading begin, aerial photographs show whether the site drains correctly and whether the building pad is level. During excavation and foundation pouring, the images can confirm that footings are placed where the drawings specify and that the concrete is poured without major delays between sections. This is also the stage where underground utilities are laid, and an aerial view helps inspectors see that trench routes match the approved plans before backfill covers them.
Rough framing and structural shell
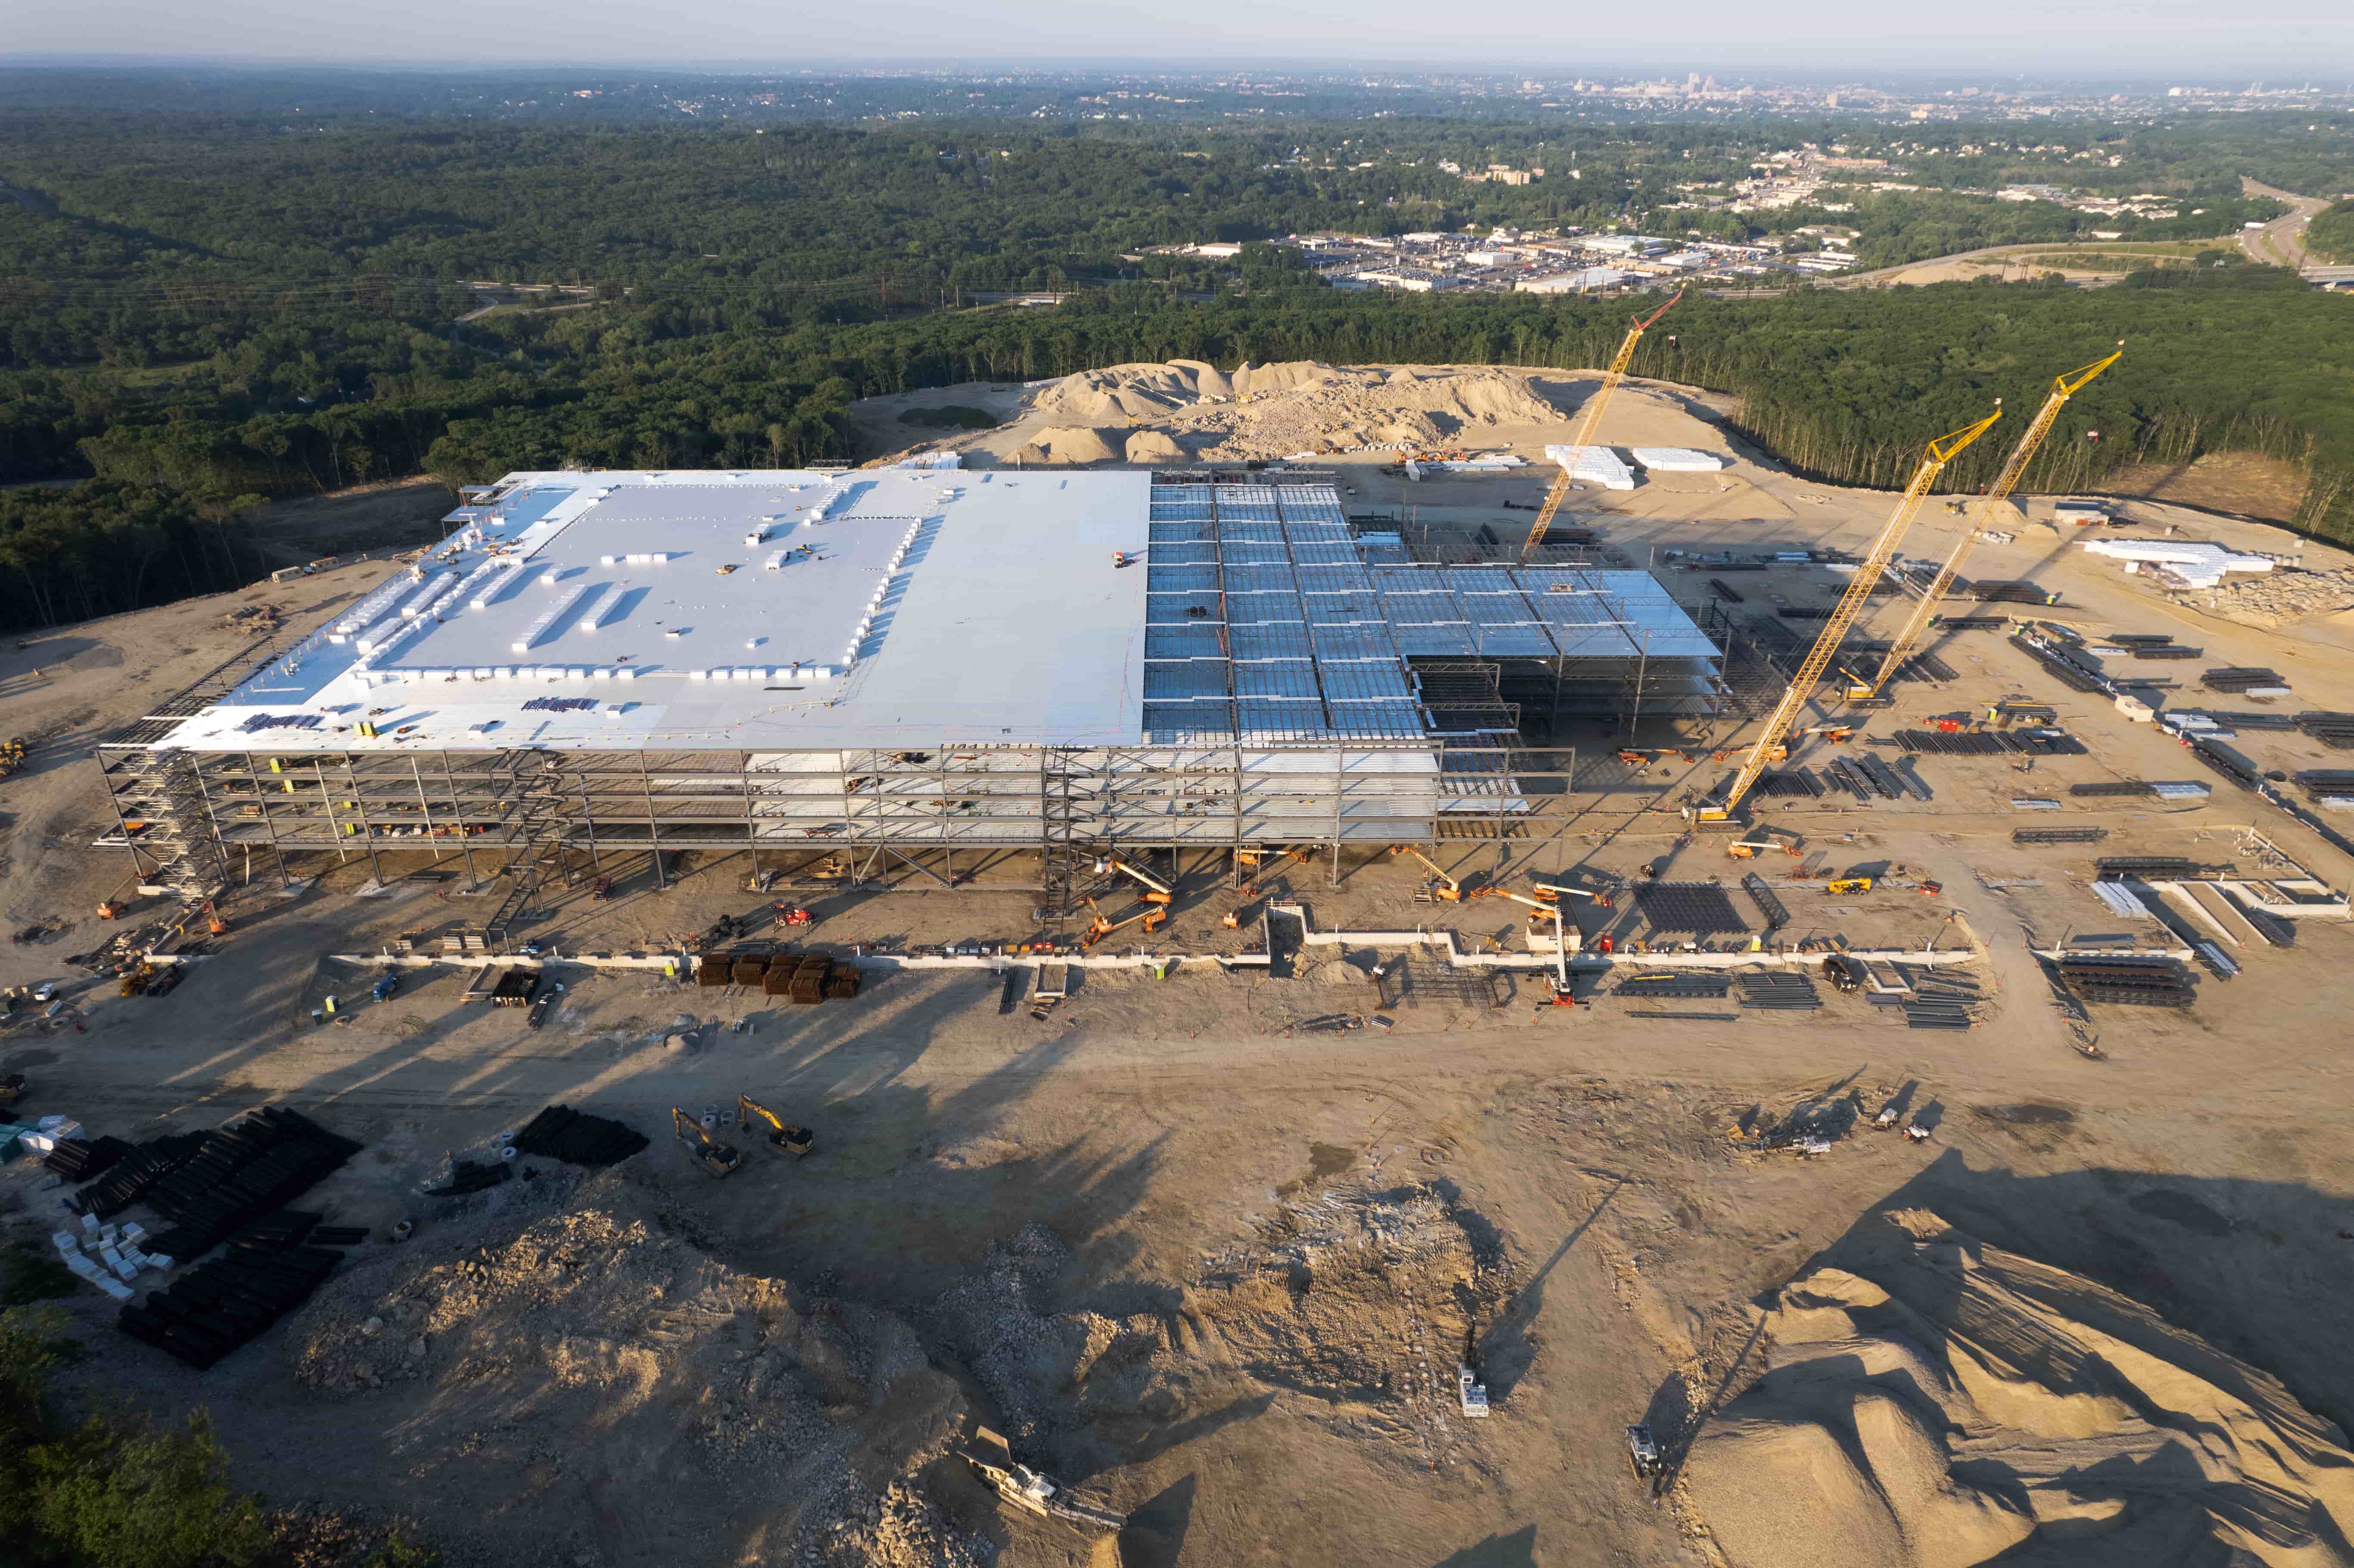
As the building rises, the value of a construction progress drone capture becomes clear. From above, the framing layout, roof trusses, and floor decks are visible in a way that ground photos cannot match. Project teams can check that the building footprint stays within the property lines and that the roof slope matches the design. At this stage, capturing images on a regular schedule, weekly or biweekly, creates a time-lapse sequence that shows the pace of work and helps spot bottlenecks early.
MEP rough-in and interior progress
Once the shell is closed, mechanical, electrical, and plumbing rough-in work begins. While interior work is not always visible from the air, roof-mounted equipment, rooftop HVAC units, and solar panel arrays are fully exposed. Aerial images at this stage can document the placement of roof penetrations and the routing of ductwork on the roof. For multi-story buildings, a drone can also capture the exterior envelope, windows, and cladding installation. These images become a reference for later maintenance and for verifying that weatherproofing details were installed correctly.
Finishes and final inspection
During the finishing phase, aerial photography is less about structure and more about the completed appearance. Landscaping, parking lots, sidewalks, and building signage are all visible from above. A final set of images creates a permanent record of the finished project, useful for marketing materials, owner handover documents, and insurance records. Comparing these final images with the baseline pre-construction photos shows the full transformation of the site.
Why timing matters
Each stage of construction has a distinct set of features that are best captured at a specific moment. If the aerial team arrives too early, the foundation may still be covered by mud; too late, and the framing is hidden behind drywall. Coordinating the capture date with project milestones ensures that nothing important is missed. A simple schedule might include flights at the following points:
- Before any site work begins
- After grading and before foundation pour
- When framing is complete and roof is on
- During exterior cladding and window installation
- After final landscaping and paving
These five captures cover the critical transitions. More frequent flights can be added for fast-moving projects or for owners who want a detailed time-lapse.
Reading the images
Aerial photographs are not just snapshots; they are data. By overlaying the images with the construction schedule, project managers can measure actual progress against the plan. For example, if a roof truss installation is two weeks behind schedule, the aerial images from that period may show material stacked on the ground but no workers on the roof. That visual evidence is more convincing than a verbal status update. Similarly, comparing images from consecutive site visits can reveal areas where rework is needed, such as a foundation wall that has shifted or a roof area where water ponds after rain.
Common mistakes to avoid
One mistake is scheduling the aerial capture too late in the day when long shadows hide details. Early morning or midday, depending on the season, gives the clearest view. Another mistake is not marking the capture location and angle precisely. If the drone does not fly the same path each time, the resulting images are hard to compare side by side. A third error is ignoring the weather: overcast skies produce flat images, while bright sun creates harsh shadows. A light overcast can actually be ideal for even lighting.
Finally, do not rely solely on aerial images. The best practice is to combine them with ground-level photos and 360 panoramas, especially for interior areas. The aerial view shows the big picture, but the ground view captures the details of connections, finishes, and clearances.
Making the record useful
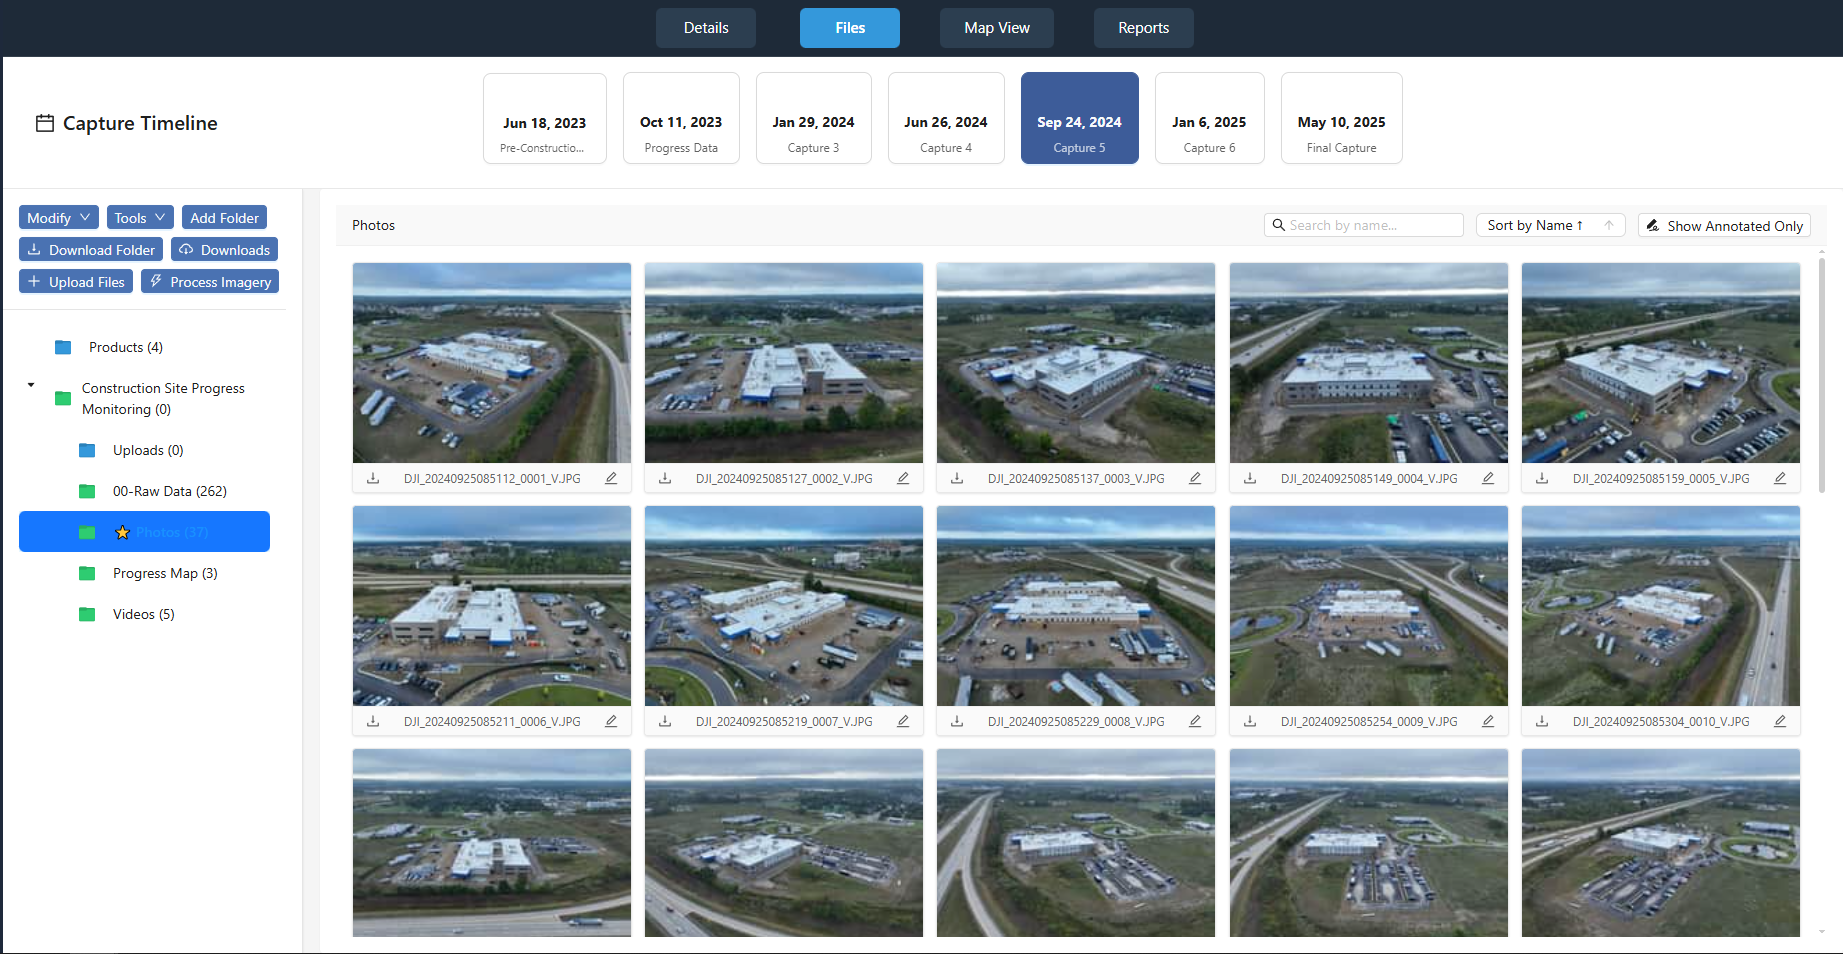
A collection of aerial images is only as valuable as the system that organises them. A project portal that tags each image with a capture date and the corresponding building stage makes it easy to find the right shot months later. For large projects with dozens of flights, a chronological index or a map view helps navigate the archive. Sharing the portal with the whole project team, architects, engineers, owners, and subcontractors, gives everyone access to the same visual facts, reducing misunderstandings and the need for extra site visits.
In short, the right aerial documentation at each building stage turns a series of snapshots into a powerful project management tool. Knowing what to capture and when is the difference between a random set of photos and a coherent visual timeline that supports decisions from pre-construction through final handover.